Installation
If ROS is installed, see Running on ROS
Source code
The source code can be viewed from this GitHub repository.
Cloning the repository:
git clone --recursive https://github.com/stella-cv/stella_vslam.git
If you are Windows 10 user, please install the dependencies and stella_vslam with SocketViewer support on Windows Subsystem for Linux (WSL).
Docker systems can be used instead of preparing the dependencies manually.
Dependencies
stella_vslam requires a C++11-compliant compiler. It relies on several open-source libraries as shown below.
Requirements for stella_vslam
Eigen : version 3.3.0 or later.
g2o : 20230223_git or later. 20230223_git is recommended.
SuiteSparse : Required by g2o.
FBoW : Please use the custom version of FBoW released in https://github.com/stella-cv/FBoW.
yaml-cpp : version 0.6.0 or later.
OpenCV : version 3.3.1 or later.
Note
OpenCV with GUI support is necessary for using the built-in viewer (Pangolin Viewer).
OpenCV with video support is necessary if you plan on using video files (e.g. .mp4) as inputs.
If your CPU has many cores, it is recommended to enable TBB.
Requirements for PangolinViewer
Note
If Pangolin version 0.7 or higher, C++17 is required.
Requirements for SocketViewer
socket.io-client-cpp : Please use the custom version of socket.io-client-cpp released in https://github.com/shinsumicco/socket.io-client-cpp.
Protobuf : version 3 or later.
The following libraries are the dependencies for the server.
Recommended
backward-cpp : Used for stack-trace logger.
Prerequisites for Unix
Note
If your PC is frozen during the build, please reduce the number of parallel compile jobs when executing make (e.g. make -j2).
Installing for Linux
Tested for Ubuntu 20.04.
Install the dependencies via apt.
apt update -y
apt upgrade -y --no-install-recommends
# basic dependencies
apt install -y build-essential pkg-config cmake git wget curl unzip
# g2o dependencies
apt install -y libatlas-base-dev libsuitesparse-dev
# OpenCV dependencies
apt install -y libgtk-3-dev ffmpeg libavcodec-dev libavformat-dev libavutil-dev libswscale-dev libavresample-dev libtbb-dev
# eigen dependencies
apt install -y gfortran
# backward-cpp dependencies (optional)
apt install -y binutils-dev
# other dependencies
apt install -y libyaml-cpp-dev libgflags-dev sqlite3 libsqlite3-dev

# (if you plan on using PangolinViewer)
# Pangolin dependencies
apt install -y libglew-dev

# (if you plan on using SocketViewer)
# Protobuf dependencies
apt install -y autogen autoconf libtool
# Node.js
curl -sL https://deb.nodesource.com/setup_12.x | sudo -E bash -
apt install -y nodejs
Download and install Eigen from source.
cd /tmp
wget -q https://gitlab.com/libeigen/eigen/-/archive/3.3.7/eigen-3.3.7.tar.bz2
tar xf eigen-3.3.7.tar.bz2 && rm -rf eigen-3.3.7.tar.bz2
cd eigen-3.3.7
mkdir -p build && cd build
cmake \
    -DCMAKE_BUILD_TYPE=Release \
    -DCMAKE_INSTALL_PREFIX=/usr/local \
    ..
make -j4 && sudo make install
Download, build and install OpenCV from source.
cd /tmp
# Download OpenCV
wget -q https://github.com/opencv/opencv/archive/4.5.5.zip
unzip -q 4.5.5.zip && rm -rf 4.5.5.zip
# Download aruco module (optional)
wget -q https://github.com/opencv/opencv_contrib/archive/refs/tags/4.5.5.zip -O opencv_contrib-4.5.5.zip
unzip -q opencv_contrib-4.5.5.zip && rm -rf opencv_contrib-4.5.5.zip
mkdir -p extra && mv opencv_contrib-4.5.5/modules/aruco extra
rm -rf opencv_contrib-4.5.5
# Build and install OpenCV
cd opencv-4.5.5
mkdir -p build && cd build
cmake \
    -DCMAKE_BUILD_TYPE=Release \
    -DCMAKE_INSTALL_PREFIX=/usr/local \
    -DBUILD_DOCS=OFF \
    -DBUILD_EXAMPLES=OFF \
    -DBUILD_JASPER=OFF \
    -DBUILD_OPENEXR=OFF \
    -DBUILD_PERF_TESTS=OFF \
    -DBUILD_TESTS=OFF \
    -DBUILD_PROTOBUF=OFF \
    -DBUILD_opencv_apps=OFF \
    -DBUILD_opencv_dnn=OFF \
    -DBUILD_opencv_ml=OFF \
    -DBUILD_opencv_python_bindings_generator=OFF \
    -DENABLE_CXX11=ON \
    -DENABLE_FAST_MATH=ON \
    -DWITH_EIGEN=ON \
    -DWITH_FFMPEG=ON \
    -DWITH_TBB=ON \
    -DWITH_OPENMP=ON \
    -DOPENCV_EXTRA_MODULES_PATH=/tmp/extra \
    ..
make -j4 && sudo make install
Jump to Common Installation Instructions for the next step.
Installing for macOS
Tested for macOS High Sierra.
Install the dependencies via brew.
brew update
# basic dependencies
brew install pkg-config cmake git
# g2o dependencies
brew install suite-sparse
# OpenCV dependencies and OpenCV
brew install eigen ffmpeg opencv
# other dependencies
brew install yaml-cpp glog gflags sqlite3

# (if you plan on using PangolinViewer)
# Pangolin dependencies
brew install glew

# (if you plan on using SocketViewer)
# Protobuf dependencies
brew install automake autoconf libtool
# Node.js
brew install node
Jump to Common Installation Instructions for the next step.
Common Installation Instructions
Download, build and install the custom FBoW from source.
cd /tmp
git clone https://github.com/stella-cv/FBoW.git
cd FBoW
mkdir build && cd build
cmake \
    -DCMAKE_BUILD_TYPE=Release \
    -DCMAKE_INSTALL_PREFIX=/usr/local \
    ..
make -j4 && sudo make install
Download, build and install g2o.
cd /tmp
git clone https://github.com/RainerKuemmerle/g2o.git
cd g2o
git checkout 20230223_git
mkdir build && cd build
cmake \
    -DCMAKE_BUILD_TYPE=Release \
    -DCMAKE_INSTALL_PREFIX=/usr/local \
    -DBUILD_SHARED_LIBS=ON \
    -DBUILD_UNITTESTS=OFF \
    -DG2O_USE_CHOLMOD=OFF \
    -DG2O_USE_CSPARSE=ON \
    -DG2O_USE_OPENGL=OFF \
    -DG2O_USE_OPENMP=OFF \
    -DG2O_BUILD_APPS=OFF \
    -DG2O_BUILD_EXAMPLES=OFF \
    -DG2O_BUILD_LINKED_APPS=OFF \
    ..
make -j4 && sudo make install
Download, build and install backward-cpp.
cd /tmp
git clone https://github.com/bombela/backward-cpp.git
cd backward-cpp
git checkout 5ffb2c879ebdbea3bdb8477c671e32b1c984beaa
mkdir build && cd build
cmake \
    -DCMAKE_BUILD_TYPE=Release \
    -DCMAKE_INSTALL_PREFIX=/usr/local \
    ..
make -j4 && sudo make install
cd /tmp
git clone https://github.com/stevenlovegrove/Pangolin.git
cd Pangolin
git checkout eab3d3449a33a042b1ee7225e1b8b593b1b21e3e
mkdir build && cd build
cmake \
    -DCMAKE_BUILD_TYPE=Release \
    -DCMAKE_INSTALL_PREFIX=/usr/local \
    -DBUILD_EXAMPLES=OFF \
    -DBUILD_PANGOLIN_DEPTHSENSE=OFF \
    -DBUILD_PANGOLIN_FFMPEG=OFF \
    -DBUILD_PANGOLIN_LIBDC1394=OFF \
    -DBUILD_PANGOLIN_LIBJPEG=OFF \
    -DBUILD_PANGOLIN_LIBOPENEXR=OFF \
    -DBUILD_PANGOLIN_LIBPNG=OFF \
    -DBUILD_PANGOLIN_LIBTIFF=OFF \
    -DBUILD_PANGOLIN_LIBUVC=OFF \
    -DBUILD_PANGOLIN_LZ4=OFF \
    -DBUILD_PANGOLIN_OPENNI=OFF \
    -DBUILD_PANGOLIN_OPENNI2=OFF \
    -DBUILD_PANGOLIN_PLEORA=OFF \
    -DBUILD_PANGOLIN_PYTHON=OFF \
    -DBUILD_PANGOLIN_TELICAM=OFF \
    -DBUILD_PANGOLIN_UVC_MEDIAFOUNDATION=OFF \
    -DBUILD_PANGOLIN_V4L=OFF \
    -DBUILD_PANGOLIN_ZSTD=OFF \
    ..
make -j4 && sudo make install
cd /tmp
git clone https://github.com/shinsumicco/socket.io-client-cpp.git
cd socket.io-client-cpp
git submodule init
git submodule update
mkdir build && cd build
cmake \
    -DCMAKE_BUILD_TYPE=Release \
    -DCMAKE_INSTALL_PREFIX=/usr/local \
    -DBUILD_UNIT_TESTS=OFF \
    ..
make -j4
sudo make install
If you use Ubuntu 20.04 (or later) or macOS, Protobuf 3.x can be installed via apt or brew.
# for Ubuntu
apt install -y libprotobuf-dev protobuf-compiler
# for macOS
brew install protobuf
Otherwise, please download, build and install Protobuf from source.
wget -q https://github.com/google/protobuf/archive/v3.6.1.tar.gz
tar xf v3.6.1.tar.gz
cd protobuf-3.6.1
./autogen.sh
./configure \
    --prefix=/usr/local \
    --enable-static=no
make -j4
sudo make install
Build Instructions
# Install stella_vslam core library
mkdir -p ~/lib
cd ~/lib
git clone --recursive https://github.com/stella-cv/stella_vslam.git
cd stella_vslam
mkdir build && cd build
cmake -DCMAKE_BUILD_TYPE=RelWithDebInfo ..
make -j4
sudo make install

# When building with support for PangolinViewer
cd ~/lib
git clone -b 0.0.1 --recursive https://github.com/stella-cv/pangolin_viewer.git
mkdir -p pangolin_viewer/build
cd pangolin_viewer/build
cmake -DCMAKE_BUILD_TYPE=RelWithDebInfo ..
make -j
sudo make install

# When building with support for SocketViewer
cd ~/lib
git clone -b 0.0.1 --recursive https://github.com/stella-cv/socket_publisher.git
mkdir -p socket_publisher/build
cd socket_publisher/build
cmake -DCMAKE_BUILD_TYPE=RelWithDebInfo ..
make -j
sudo make install

# Install stella_vslam executables
cd ~/lib
git clone -b 0.0.1 --recursive https://github.com/stella-cv/stella_vslam_examples.git
mkdir -p stella_vslam_examples/build
cd stella_vslam_examples/build
cmake \
    -DCMAKE_BUILD_TYPE=RelWithDebInfo \
    -DUSE_STACK_TRACE_LOGGER=ON \
    ..
make -j
After building, check to see if it was successfully built by executing ./run_kitti_slam -h.
$ ./run_kitti_slam -h
Allowed options:
-h, --help               produce help message
...
Server Setup for SocketViewer
If you plan on using SocketViewer, please setup the environment for the server with npm.
$ git clone --recursive https://github.com/stella-cv/socket_viewer.git
$ cd socket_viewer
$ ls
Dockerfile  app.js  package.json  public  views
$ npm install
added 88 packages from 60 contributors and audited 204 packages in 2.105s
found 0 vulnerabilities
$ ls
Dockerfile  app.js  node_modules  package-lock.json  package.json  public  views
Then, launch the server with node app.js.
$ git clone --recursive https://github.com/stella-cv/socket_viewer.git
$ cd socket_viewer
$ ls
Dockerfile  app.js  node_modules  package-lock.json  package.json  public  views
$ node app.js
WebSocket: listening on *:3000
HTTP server: listening on *:3001
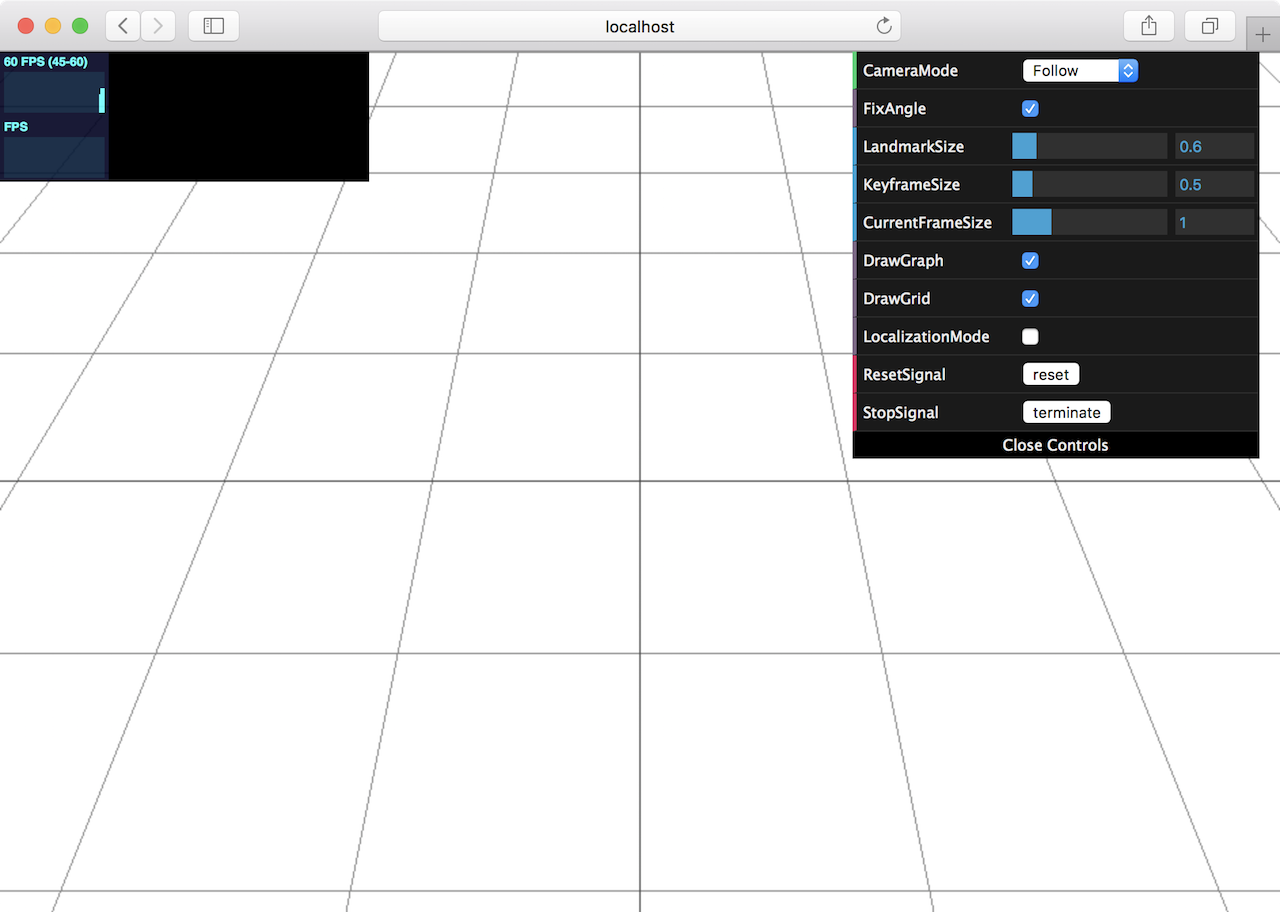
After launching, please access to http://localhost:3001/ to check whether the server is correctly launched.
Note
When you try the tutotial and the examples with SocketViewer, please launch the server in the other terminal and access to it with the web browser in advance.